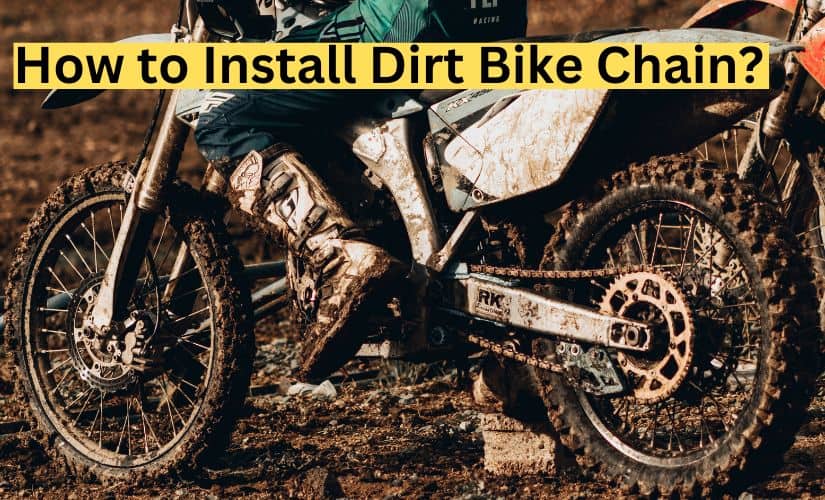
As a result of the harsh environment while using dirt bikes you need to replace the chain frequently. Most roads have sand, dirt, and mud which is harsh on the bike chain.
Off-road bikes will from time to time require chain replacement. On-road bikes have long durability chance as they face no harsh conditions.
The process of chain installation is not as hard if you are well-prepared. You will need to have the right tools.
Replacing your dirt bike chain should be a routine activity. It’s even easier to do it with the company chain manual.
The manual provided has all requirements listed as well as the process. When handling chain replacement you have to deal with bolts and nuts. Also, check on the sprockets that may require replacement.
Sprockets are important as they work in line with the chain. Always consider checking on the sprocket’s condition.
In case the sprockets are worn out the chain will also wear out much faster than expected. Check on the rollers and chain slides also.
The best advice would be to replace all the components at the same time. This will actually help reduce the rate of wearing out.
Contents
Do an Inspection on the Chain First
Before starting any process of replacement does a random inspection. Carefully take a look at the condition of the sprocket.
The sprocket teeth should have a hook shape.
In the case of a round or short shape, you will need to replace the sprocket. Although this is an option, a worn-out sprocket will damage your chain faster.
You can get a great sprocket designed for your dirt bike from MojoMotoSport by clicking here.
It’s advisable to replace your sprocket as you install the new chain. If possible have both sprockets replaced.
However, in case one seems to be in a good state you can maintain it. Put the bike on a centre stand and start the inspection.
Start rotating the rear wheel and observe the chain performance. The chain should be tightly fitted into the sprockets.
In case there is a big gap of even a half you need to replace the chain. A simple pull test of the chain will confirm its condition.
The chain part which most riders forget is the chain slides. It’s also quite important to check the chain rollers’ condition.
The chain rollers and slides may be worn out at any time. Ensure to confirm their state and replace them if need be.

Determine the Chain Size and Pitch
Installing a bike chain is not just purchasing any chain of your choice. Offroad and on-road bikes have different chain sizes.
Also important to know that chains have different pitches and lengths. Before making a purchase be sure of what you need.
Chain pitch is the distance between one chain pin to another. However, the chain size should be easy to know.
On the chain side, you should see the information denoted. In case it is not indicated check the bike manual.
The length of the chain is based on the number of chain links.
There are two types of chain line connections.
The sealed chain has variants that help retain lubricants while the standard chain does not retain lubricants as they have no seal.
This makes the sealed chain advantageous as it reduces the chances of wear and tear.
Tools Required
Tools will make the process faster and easy.
The following tools are required; pliers, chain rivet tool, Grinder, punch, hammer, and flat blade screwdriver.
Pliers will help in the installation of the master link clip and pressing. The screwdriver helps in the removal of the clip.
The Grinder punch and hammer make it easy to fit the appropriate length.
Removing the Old Dirt Bike Chain
This might be simple depending on the condition of the parts. If the sprockets are worn out you can just slide it off.
You can use a punch and hammer to remove the master link faster. A chain break tool is also useful.
In tough situations, you may require chain grinding. This is just to unlock one chain link.
Steps to Replace a Dirt Bike Chain
- Put the bike on the stand and turn the rear tire. Remove the chain guard then loosen any nut or bolt. Using the right tool loosen the bracket.
- Locate the master link clip. The best position is to have it at the back or on top. Tap it using a hammer and the link will be removed. A riveted master link may require a chain breaker. You may require to grind up to half the link plate.
- At this point pull the chain backwards after removing the master link.
- There may need to replace the sprocket. Remember the washer even as you install a new sprocket.
- After replacing the sprocket ensure you tighten it. Snug using the criss-cross pattern. The wrench and ratchet will make this easier. Refer to the service manual for this. Tighten the nuts but be gentle with Allen’s heads. Lube up the bolts around the chain. Changing the sprocket size will change the chain length.
- Start with a long chain. A long chain makes it easy even in terms of cutting to the required length.
- Put the long-chain fitting it carefully then measure the correct length.
The process of installing the chain is quite easy when following the right method. Riders find it even easier if they know what they are looking for.
Ensure you handle every part with caution, especially the tools. In case you need a grinder please observe the position advised above.
It is always important to know the chain size and type. Purchasing the wrong chain could be a waste of money.
A dirt bike chain is specific for each. Also, consider the pitch as the sprockets may not be the same.
It’s always advisable to use your manual. The manual has every detail including the chain size.
Avoid removing the chain in a hurry as it can easily hurt your fingers. Observe the use of the tools above to make the method easier.
When buying a used dirt bike, knowing the state of the chain and sprockets is crucial to make sure you get a working dirt bike.